|
|
Demounting an IBM MCM:
Part I
I had the big luck to get two original sealed IBM
MCM modules. I
decided to demount one and I want
to show you how I did this. I don't know exactly, but I think this
TCM is a part of a IBM ES/9000 series
mainframe model 9274. It is very hard to get any information from
IBM about these parts.
I was afraid to demount this great part because I have never
done this before. I only knew that
many cores are under the heat sink. So I was very afraid to damage
one of the silicon die cores.
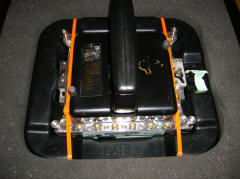
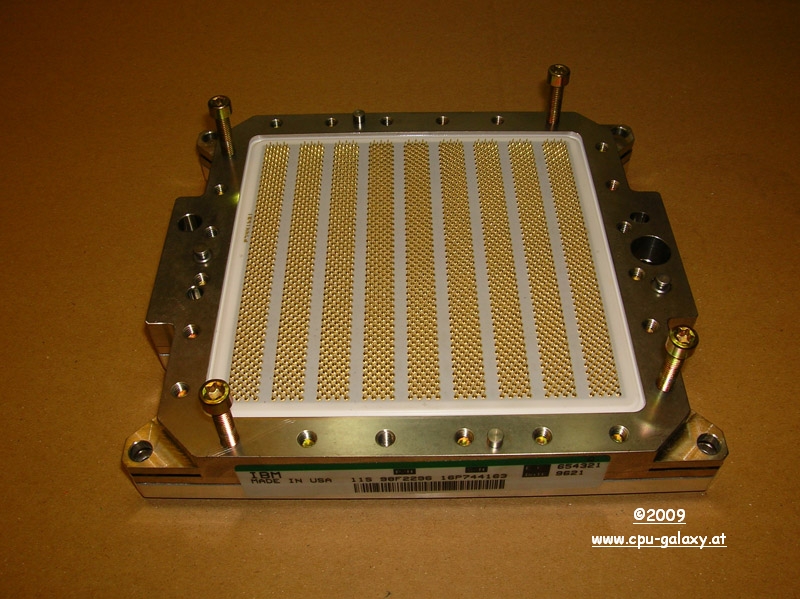
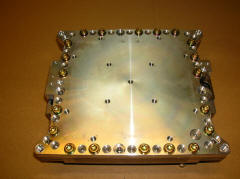
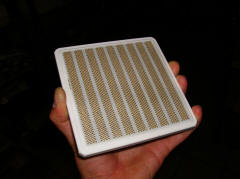
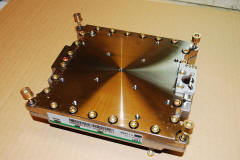
TCM
in original IBM box
|
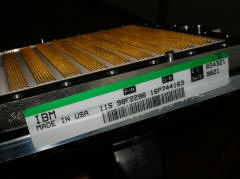
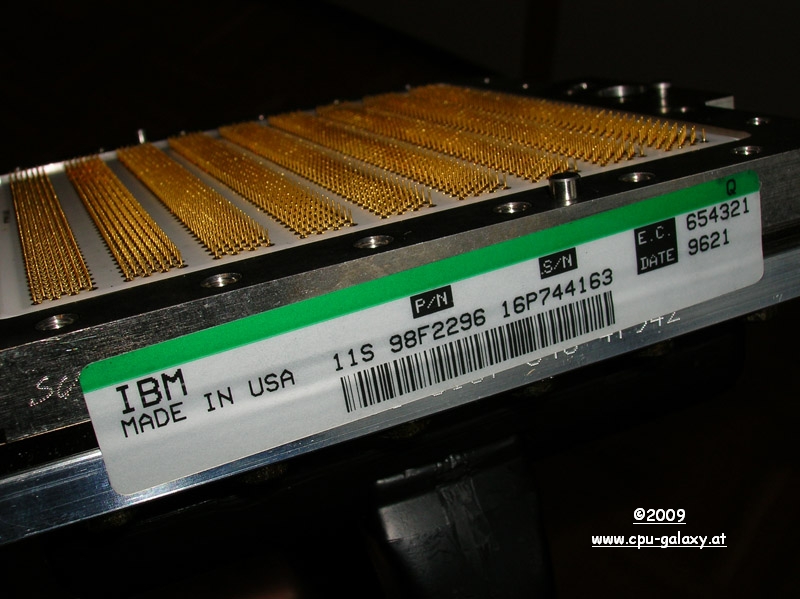
IBM
98F2296, MFD 9621
|
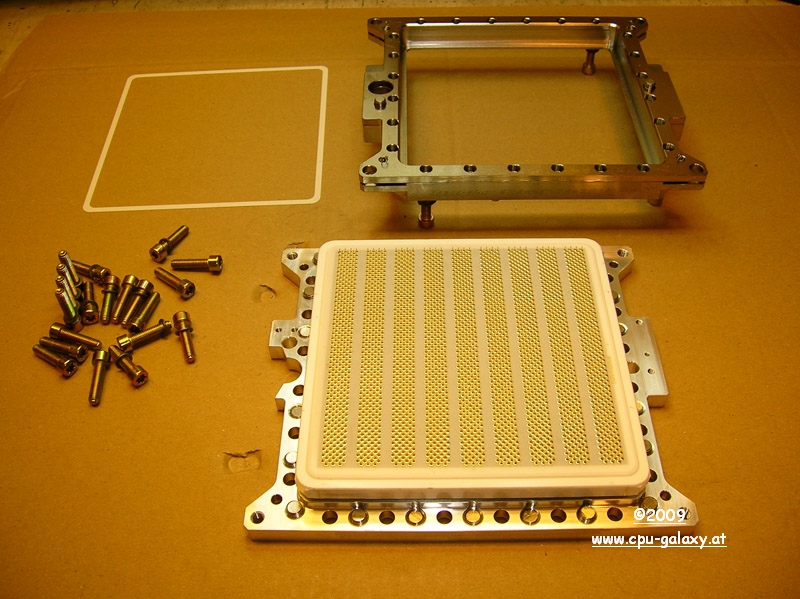
I
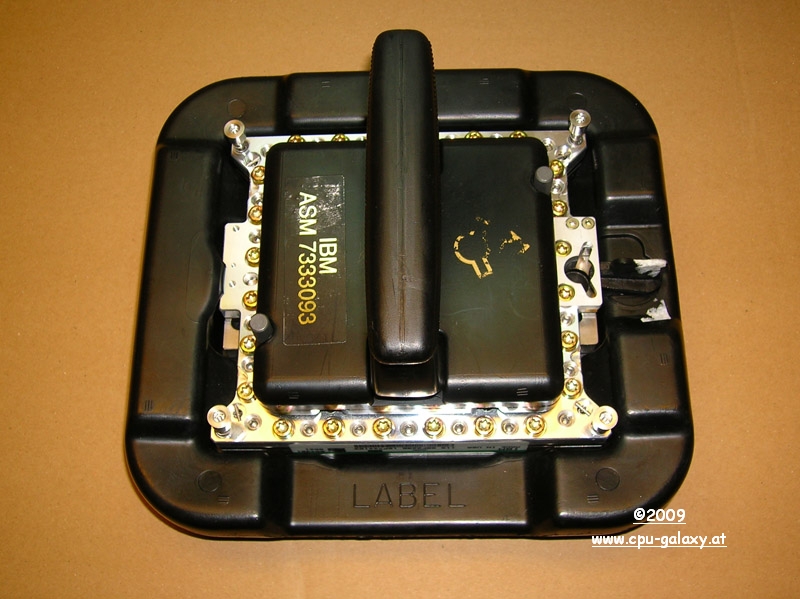
took a suitable board to start
my project |
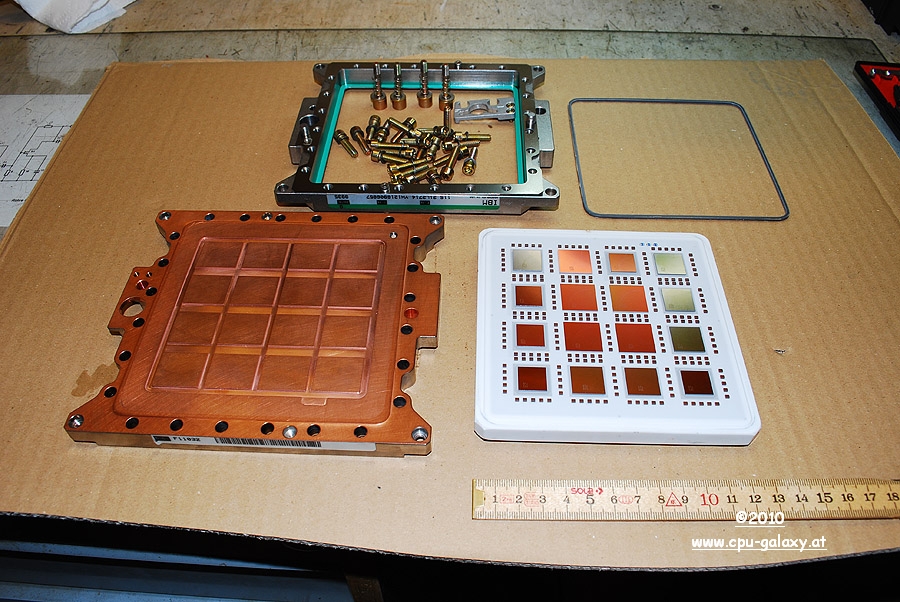
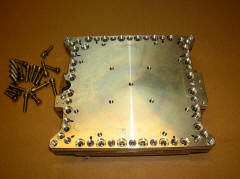
removed the carrier
|
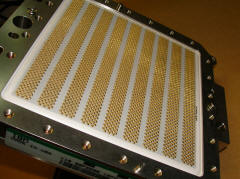
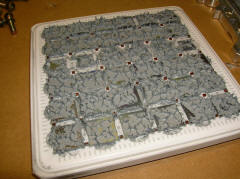
wow,
so many pins. I hope to
leave them straight!! |
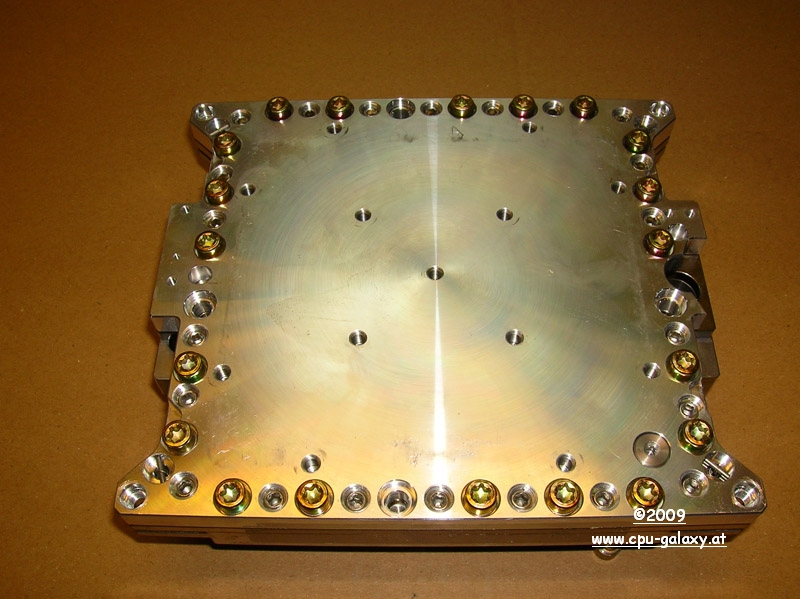
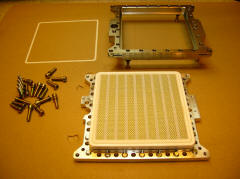
many
screws to remove, I will
remove them diagonally. |
4 of
them I screwed on the
bottom to save the pins. |
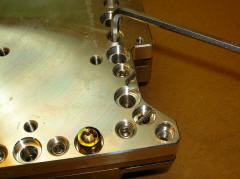
works great and no pins
were bent. |
all
screws removed, the moment
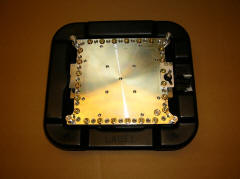
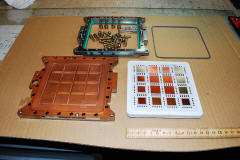
to remove the heat sink is here. |
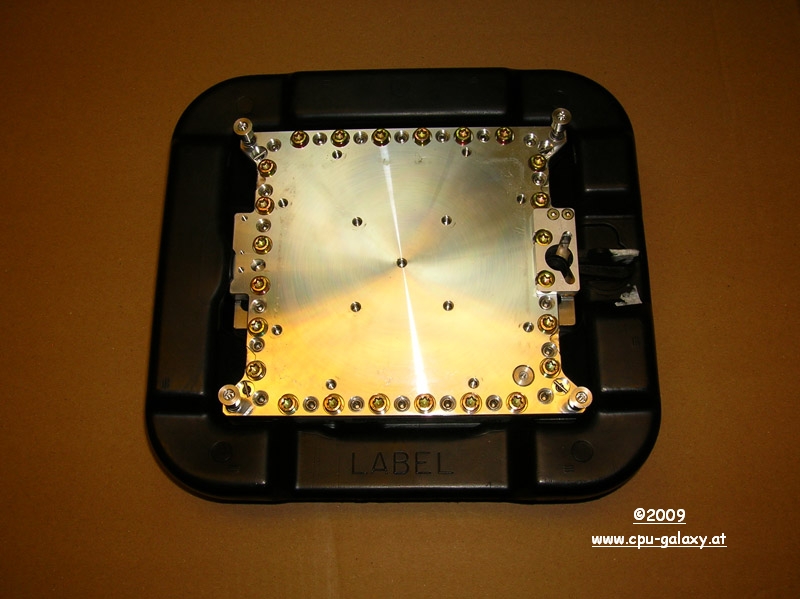
the
TCM is stuck to the heat sink.
I did not expect this! |
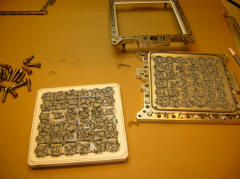
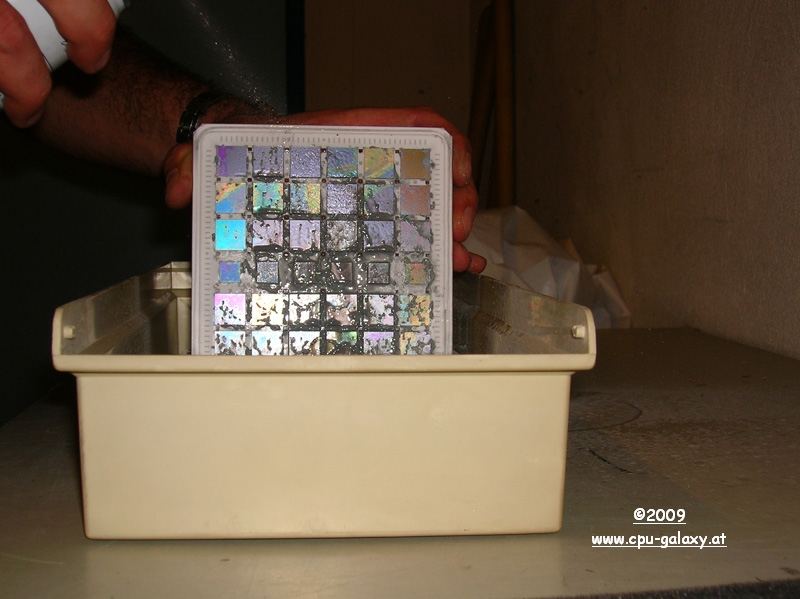
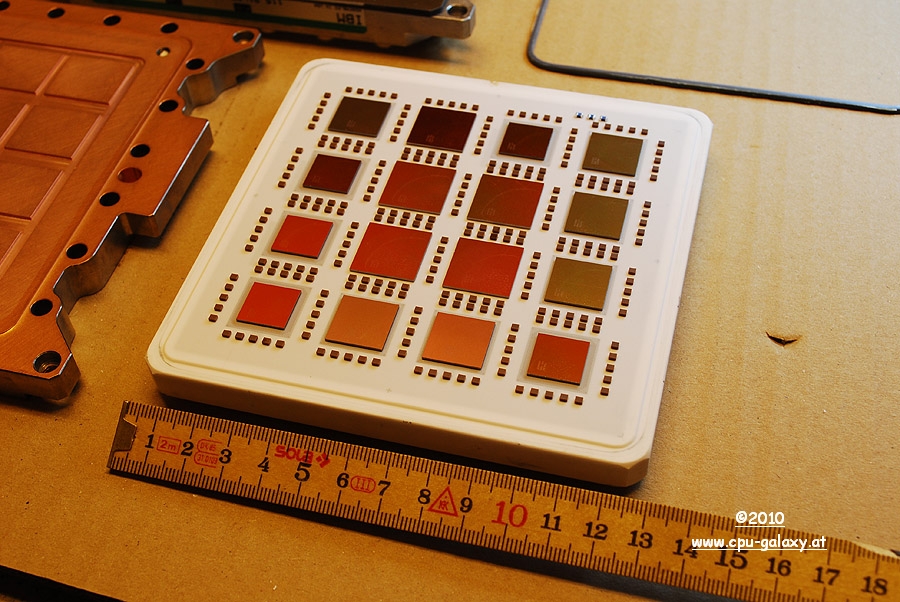
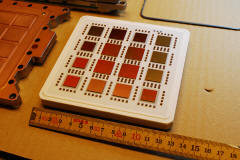
after one hour I peeled the TCM off
without damaging the ceramic |
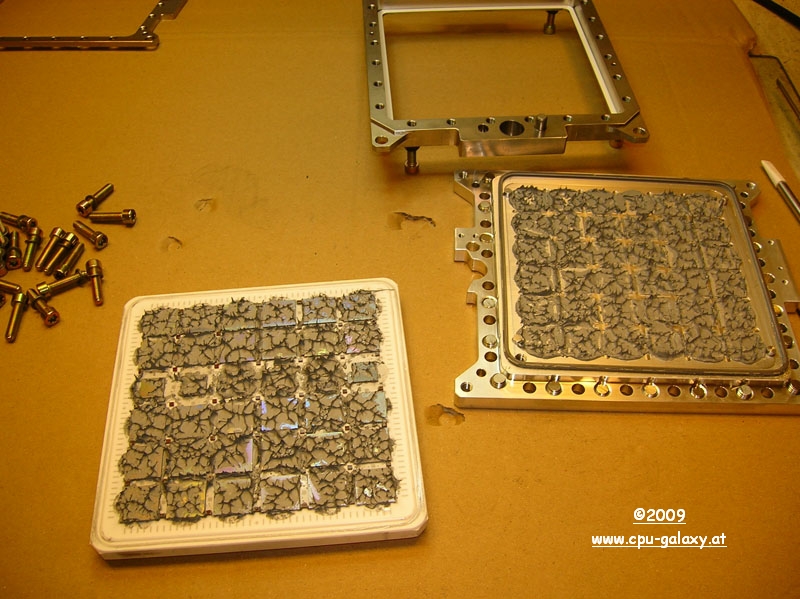
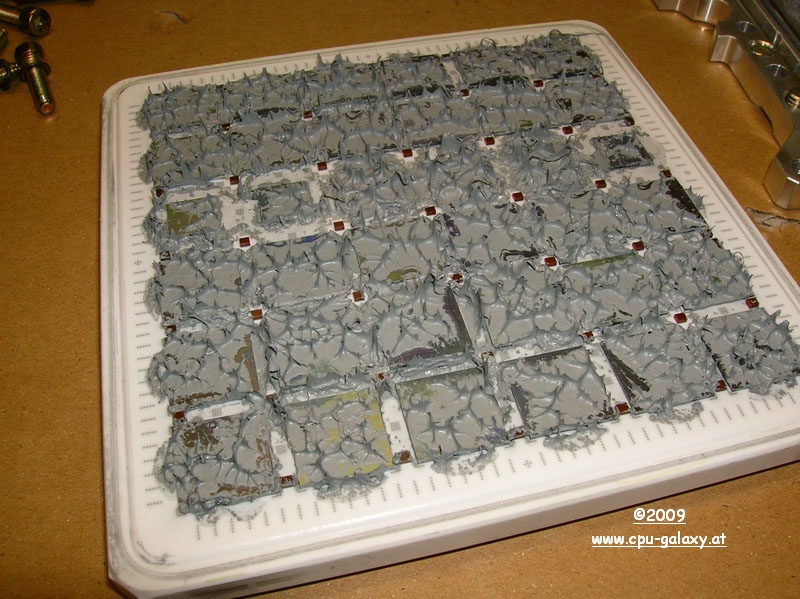
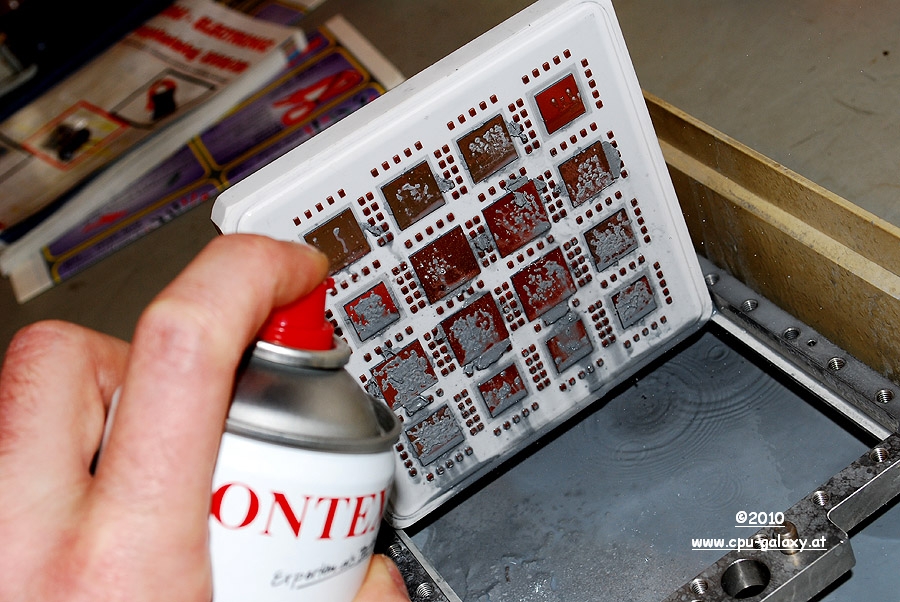
extremely sticky heat conducting paste!
|

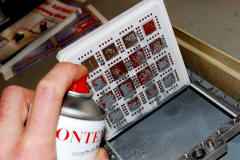
I
decided to take brake cleaner
to remove the paste by washing. |
works really great, and I did not have to
contact the die cores. |
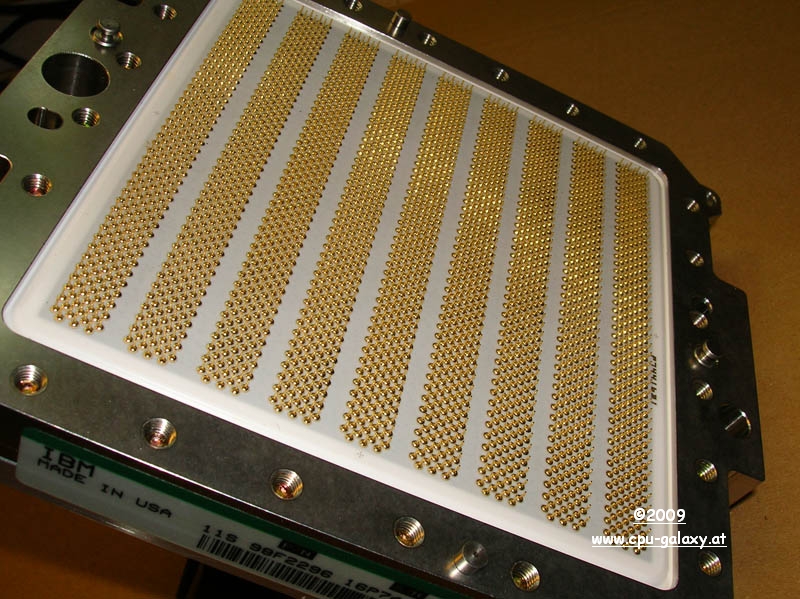
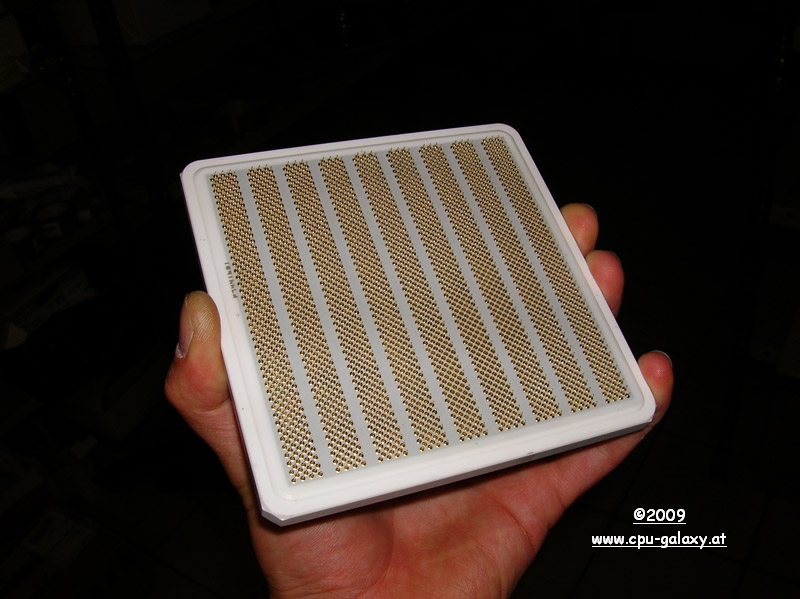
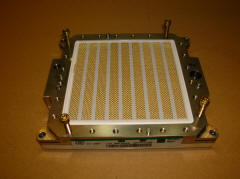
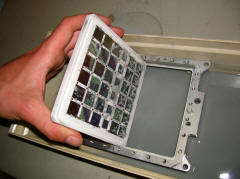
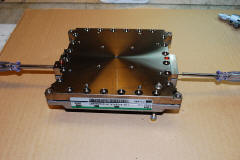
ready.
|
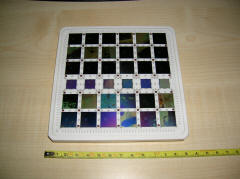
The
absolute highlight for my collection!! This is
a monster-CPU and I really love it :-) |
Demounting a IBM MCM:
Part II
Same town, same place and
the next IBM MCM. :-)
I had again luck to get the next MCM for my collection in
it's original carrier. I demounted it by the same way
like the other one and it worked also very well. The
following MCM is the processor of a IBM Server
Z-Series 900. Enjoy the gallery pics:
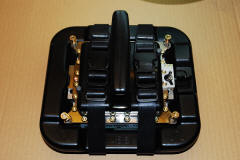
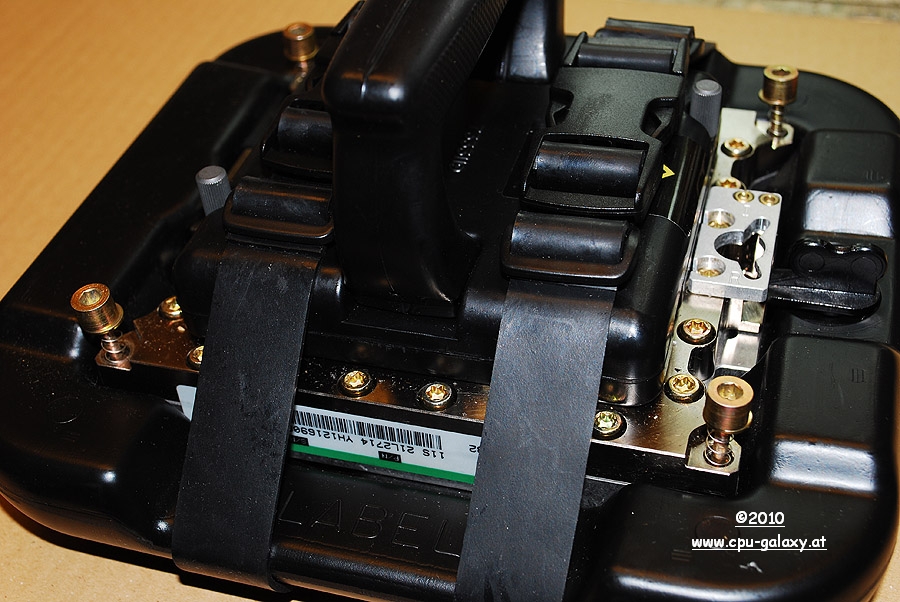
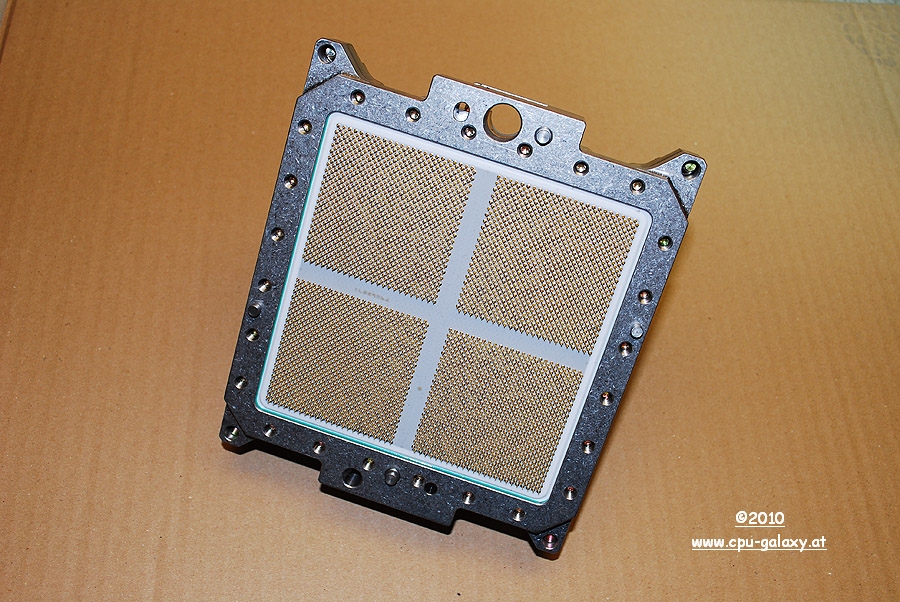
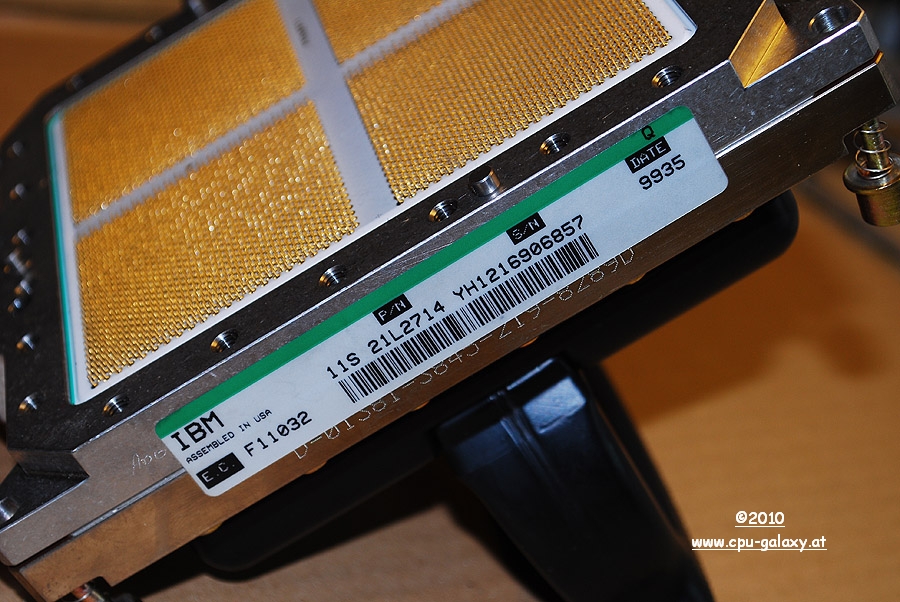
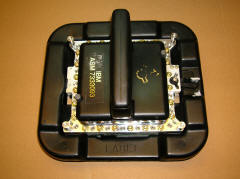
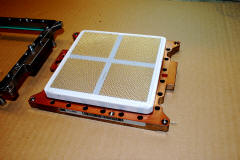
IBM
TCM with handle and in protective carrier |
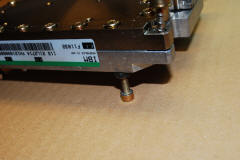
IBM
21L2714, MFD 9935
|

wow,
so many pins. I hope to
leave them straight!! |

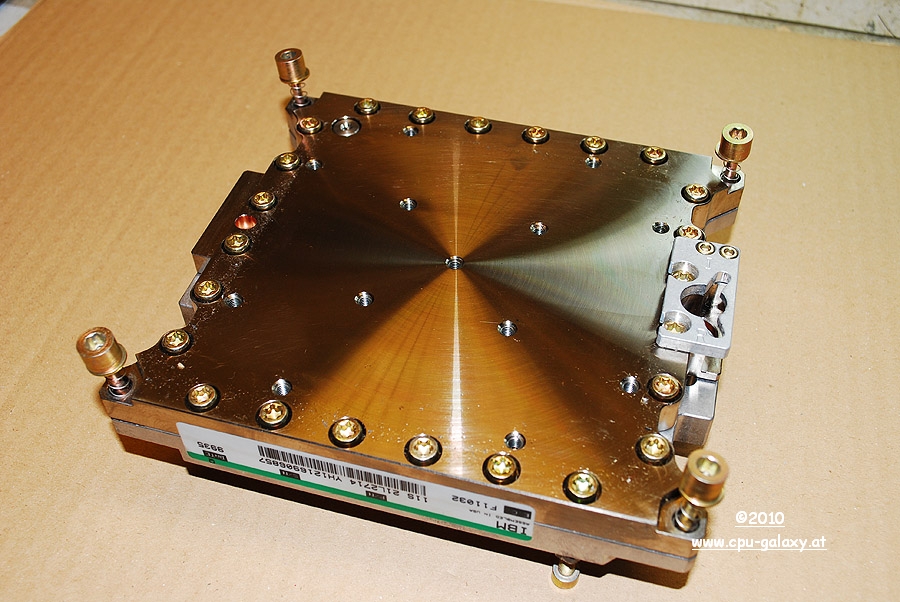
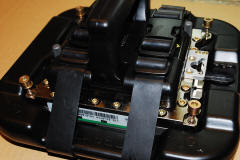
removed the carrier
|
lets
start
|
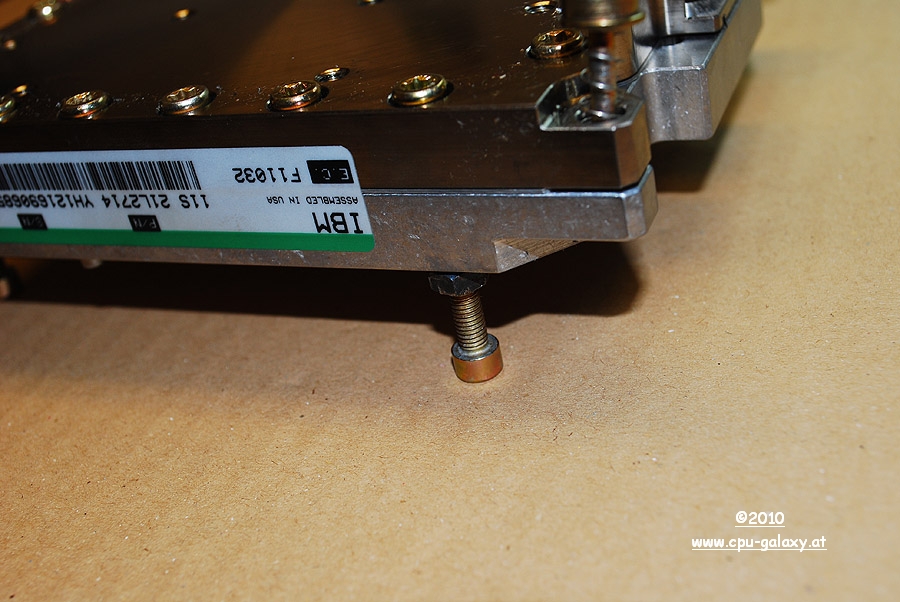
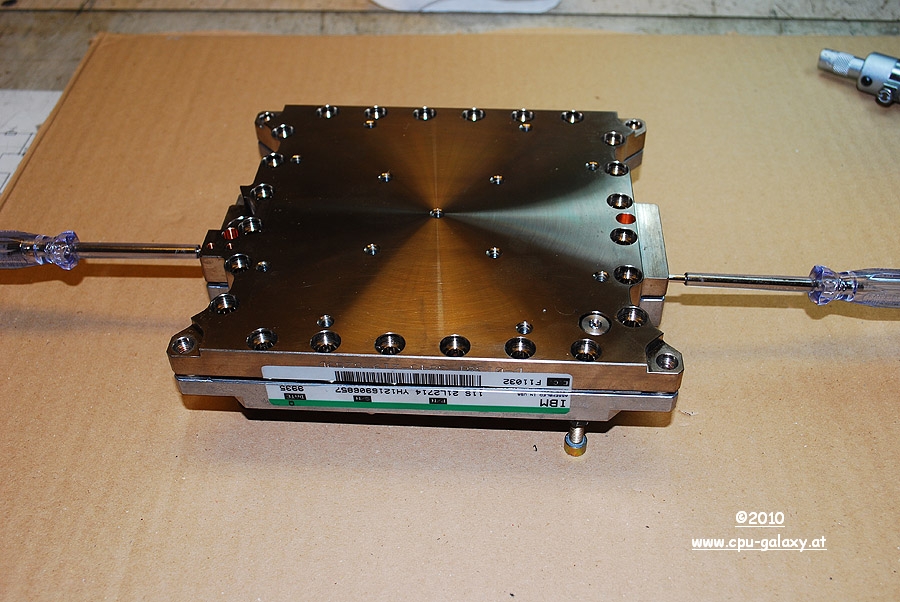
4 of
them I screwed on the
bottom to save the pins. |
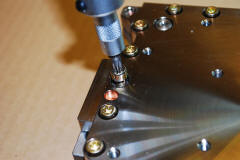
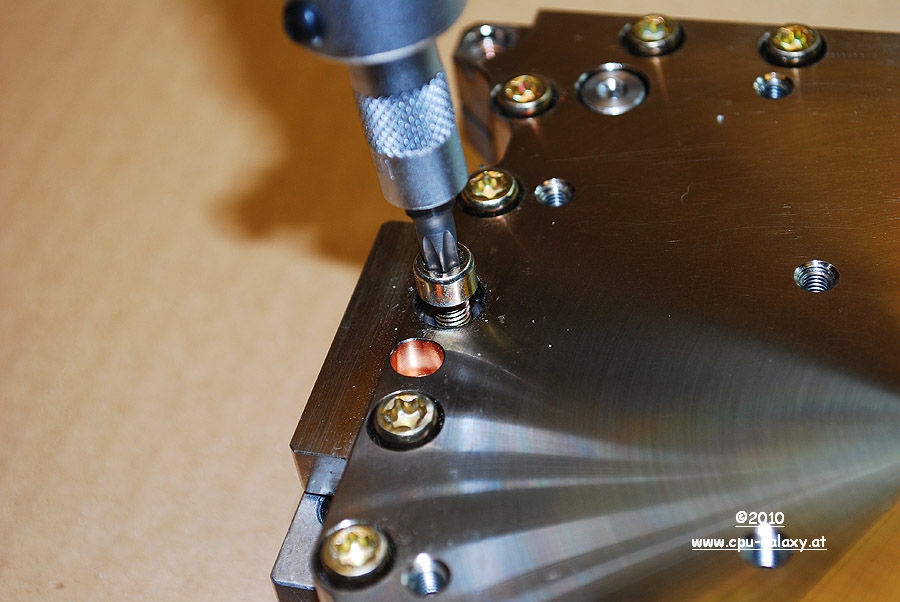
removing carefully all screws. note:
always diagonal! |
all
screws removed, the moment
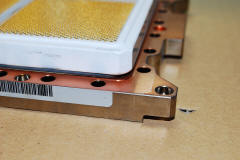
to remove the heat sink is here. |
the
TCM is stuck to the heat sink.
This time I did expect this! |
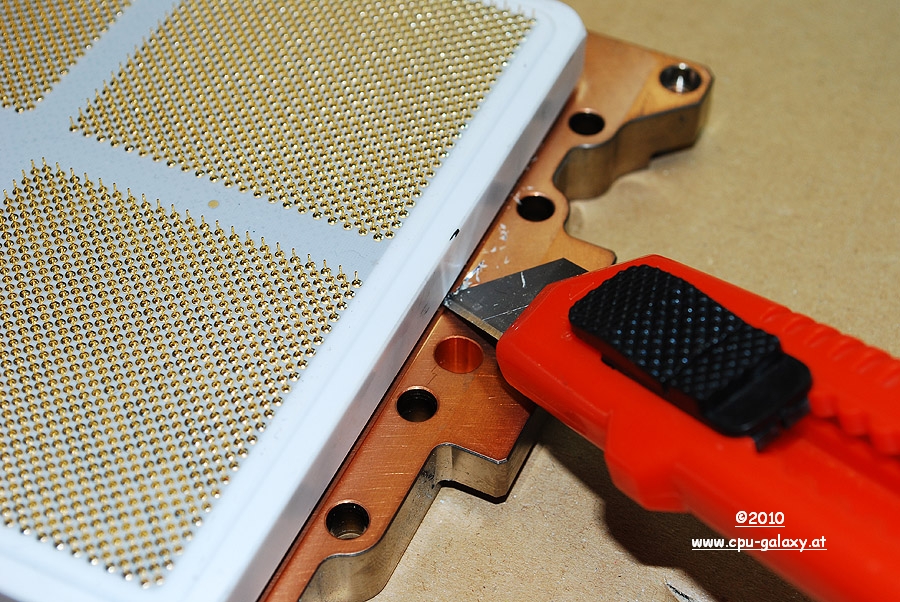
around the MCM a metal belt with glue.
|
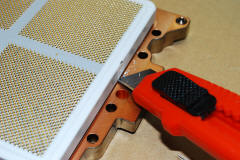
with
a carpet knife I cut off the glue
around the MCM |
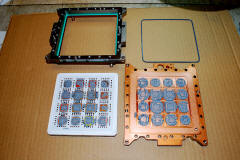
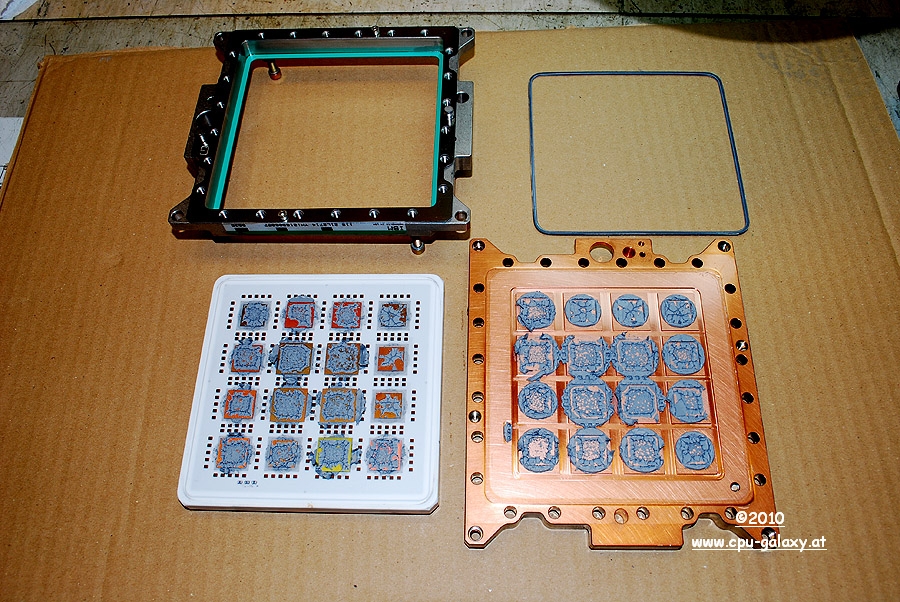
extremely sticky heat conducting paste!
|
I
did also take brake cleaner
to remove the paste by washing. |
works really great, and I did not have to
contact the die cores. |
ready.
|

what a white beauty :-) |
|